The Blog


top posts
3 crm features to implement now
business
lifestyle
photography
5 Ways To Improve Your iPhone Photos
Home Build – Great Room Inspiration
")


read more
You’re on vacation, you need the picture perfect location and hand the phone over to your partner to grab a photo of you and the kids, or your well thought out outfit. You’re swept away in the moment. You take your phone back and…what the? Seriously? “Thanks hun, thats great” *delete*.
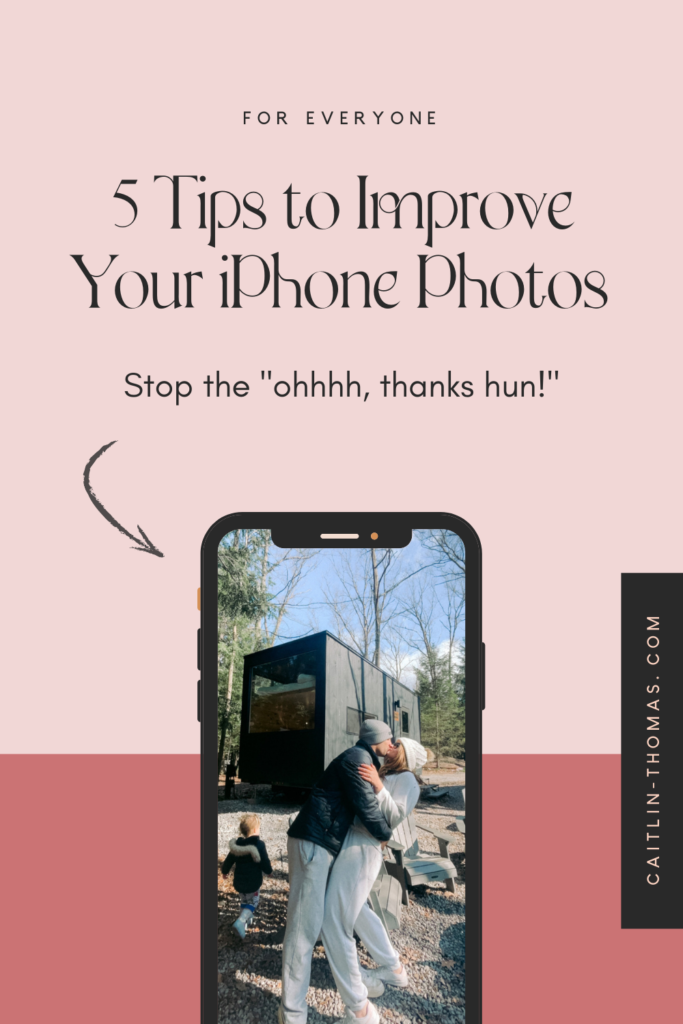
Whether you are handing your phone off to someone else, or taking photos of products or your family, here are some quick pointers to help you improve your iPhone photography, leaving you with images that you can actually use.
- Light Over Location
If I had a dollar for every time that someone suggested a “perfect location” with horrific lighting as a professional photographer, I honestly would not be writing this post (love you, but…I would be very wealthy). The reality is that sometimes that beautiful flower garden or cool mural is being pounded with uneven, harsh lighting.
Practice shooting photos in areas with soft, even lighting. This typically means NOT at noon with the sun blinding you. It often means finding a way to put the sun behind your head.
If you are indoors, it means facing a window and turning off yellow overhead lighting.
Practice. Practice. Practice.
- Even Lighting
You do not want your subject to be riddled with harsh shadows and highlights. Again, practice makes perfect. Shooting photos in the shade is, in general, far more flattering than in direct sun. - Prospective
Rule #1 when shooting humans: in general, looking UP is less flattering that shooting at eye level or down. Set up your self timer and practice photographing yourself at different angles. You will quickly learn what you find flattering on yourself, and how to request those angles if a spouse or friend is taking your photos, and what to avoid when you take photos of others.
- Editing
Stop using Instagram filters. Full stop. Download an app like A Color Story, or if you are ready to dive into a more in depth app, try Adobe Lightroom Mobile and find a preset that you like. You can find my first edition here. - Export
Export photos from your editing app in the largest size possible. This will maintain as much of the quality as possible.
The bottom line is that you need to practice when you aren’t in the moment. Try different lighting scenarios, locations, angles, and edits until it clicks for you. As a self taught photographer of 14 years, I can promise you that practice is how you learn.


